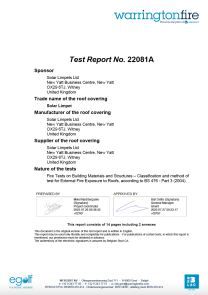
Solar Limpets Rosemary Type Tile System Support Area
Welcome to the Solar Limpets tile system support area. You can browse the support topics by scrolling down the page or choose from the sub menu on the left. Fixing guides and datasheets can be found in the downloads section.
Cable Entry
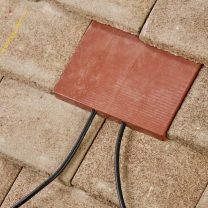
The Solar Limpets Tile Blank can be simply adapted to provide an efficient, practical 4 or 6mm cable entry point. Please view the video below or see page 4 of the fixing guide for more information.
Avoiding Fragile Tile Breakages
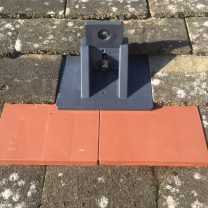
Using Limpet Tile Blanks to replace tiles below the Limpet baseplate will reduce damage to fragile tile roofs. Also, using 1.2m lengths of 4 x 2inch timber rested on the installed Limpets in addition to the rails will also help spread any compression loading during the installation. See our video below for more information.
Vertical Rail Mounting 'L' Brackets
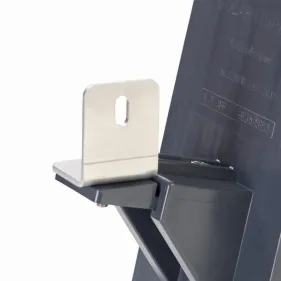
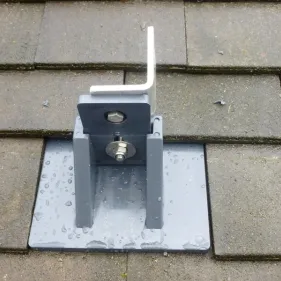
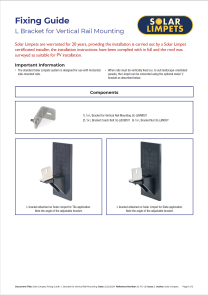
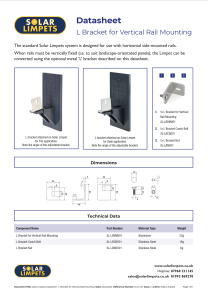
The Solar Limpet metal 'L' bracket adapts the Limpet adjustable bracket (on Tile or Slate installations) to enable the use of rails mounted top to bottom, required for some landscape panel orientation options. View the 'L' bracket video below or download our 'L' bracket fixing guide for more information.
Fixing Screw Lengths
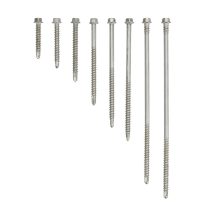
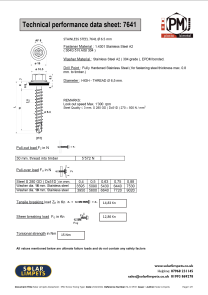
Solar Limpets provides a range of screw lengths from 40mm to 200mm. Longer lengths up to 260mm may be available on application.
The standard-length screw fixing supplied for rafter fixings on tile and slate will be 115mm.
If the roof has been counter-battened, the minimum screw length recommended would be 130mm, depending on the thickness of the counter-batten used.
For overlaid insulated warm roofs, longer sizes will be required depending on both the thickness of the installation and counter battens.
For further advice regarding application to other suitable roofing surfaces, commercial and domestic, contact Solar Limpets technical support (Carl Reynolds 07968 231145).
Identifying Suitable Tile Types
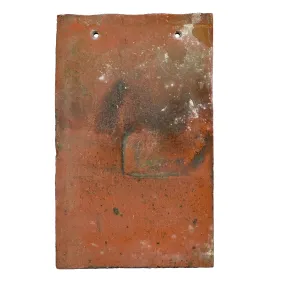
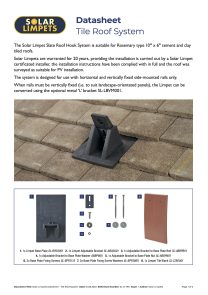
Solar Limpets are suitable for the majority of 10 x 6 Rosemary-type tiles. See the slides below to identify compatible types.
Click arrows to view next steps
Adjustable Bracket and Rail Fitting
Solar Limpets are suitable for side-fix type rails only.
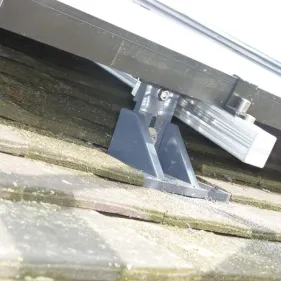
Adjustable bracket fitting and recommended tightening procedure. The rail connecting bolts should be sourced from your rail supplier to match your chosen rail. When fixing the rail to the adjustable bracket, tighten until the nut bites, and then another half to one-third turn is sufficient. DO NOT OVERTIGHTEN.
Fixing Guides
Datasheets
Test Reports
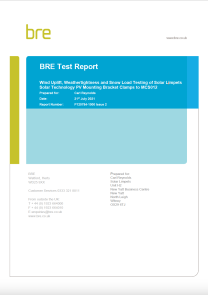
Wind Uplift, Weathertightness and Snow Load Testing Report
Wind Uplift, Weathertightness and Snow Load Testing ReportContact us
Call Sales
Emma Graham – Carl Reynolds:
01993 869278
Call Technical Support
Carl Reynolds:
07968 231145
